
Link to part 1:
viewtopic.php?f=39&t=1519
And part 2:
viewtopic.php?f=39&t=1533
Faceting Made Easy, Part 3: Starting a Standard Brilliant Cut
by Trevor Hannam
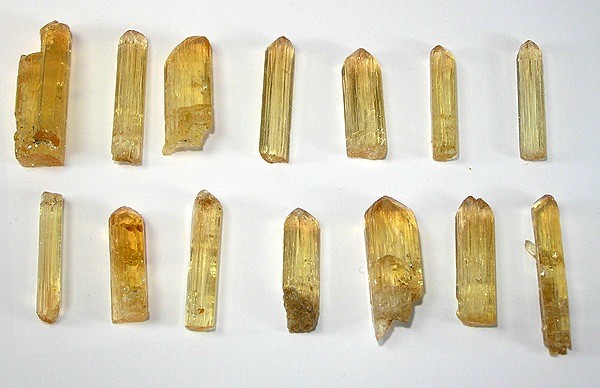 A set of cutter-quality topaz crystals, with classic sherry/orange color and scintillation. “Topaz (Var. Imperial Topaz),” Ouro Preto, Minas Gerais, Southeast Region, Brazil. © Rob Lavinsky, http://www.iRocks.com. Used with permission.
Note: This is a six-part edited version of Trevor Hannam’s Faceting Made Easy, a general introduction to faceting and a guide for learning to cut a standard brilliant gem. Part 3 includes Chapters 5, 6, 7, and 8. These chapters cover selecting rough and dopping and rounding techniques for a standard brilliant cut. The International Gem Society thanks Mr. Hannam for permission to post his work.
Selecting the Rough
"For beginners, let’s start with a piece of topaz. With its good relative hardness and refractive index (RI), this inexpensive mineral will produce gems with sparkling brilliance.
When choosing your rough, look at these three factors: clarity, color, and cleavage.
Clarity
Let’s say you have a piece of topaz that may not have the outward shape of a crystal. For example, it may be water worn and impossible to see through. You need to evaluate its clarity or clearness. Wetting it with water may help, but not enough to see any inclusions and internal flaws. This is due to water’s RI (1.33) not being high enough. To view readily the inside of this stone, you need a liquid with an RI closer to topaz’s (1.63). You’ll need Refractol or cinnamon oil. With an artist’s brush, paint one of these liquids over the stone. You’ll then be able to see right through the piece as if it were a piece of glass.
Look carefully into the stone with a five or ten power eye piece for any of the following:
* Cracks.
* Inclusions of other minerals.
* Cloud veils from ghost crystals.
* Small bubbles that may contain liquid.
Obviously, you want a near flawless stone. As Nature will have it, tis ‘nigh impossible. However, the art of faceting allows you to find the flaws and hide them if they present problems. With the proper gem orientation, you can conceal inclusions or flaws under the girdle facets. Normally, you wouldn’t bother with such a stone, but special circumstances might factor into your decision. (Perhaps the rough is a unique piece, has sentimental value, or commands a high price). Barring special circumstances, you’d likely discard such a stone for a better piece.
Now, you’ve mapped out the interior of the rough. Next, you can consider possible orientations and maximum recovery for the stone.
Color
Does the rough you’re examining have any color zoning? Is the color uniform, or is it lighter on one side than the other?
Stones like amethyst, citrine, sapphire and blue topaz can have one or more bands of color. If color is the most important value factor for what you’re cutting (and, normally, it is), then orient such banded rough so that the pavilion of the standard brilliant, when cut, is fully within the banding. Take care that the pavilion doesn’t protrude past this color zone point. This may lead to a loss of the desired color.
Don’t confuse color banding with pleochroism in doubly refractive gems, such as sapphires. For best color, particularly cornflower blue, orient sapphires along their C axis. Otherwise, you may very well end up with a green sapphire. (See Part 1).
Cleavage ... "
https://www.gemsociety.org/article/face ... liant-cut/